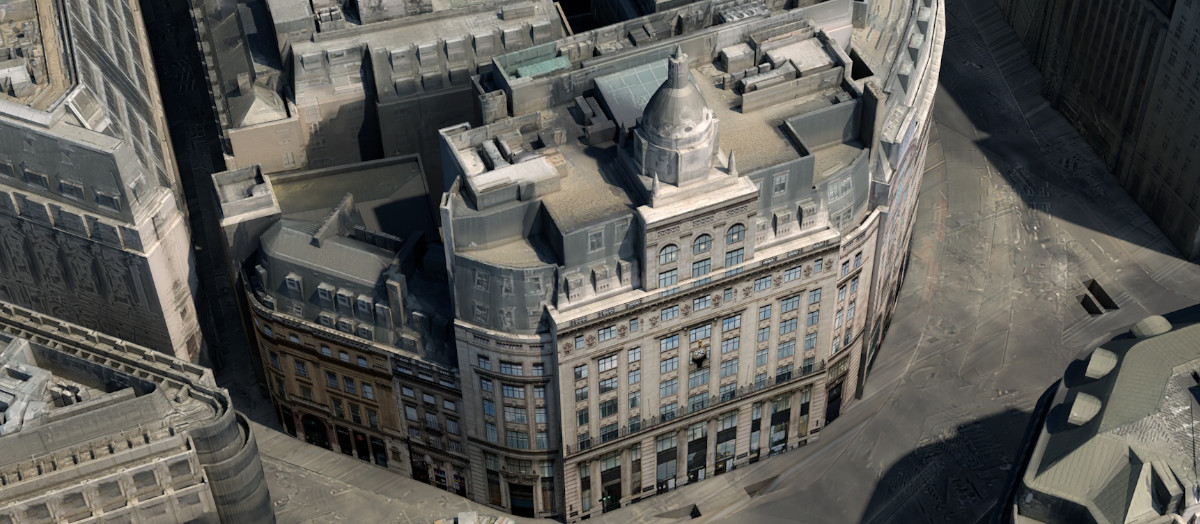
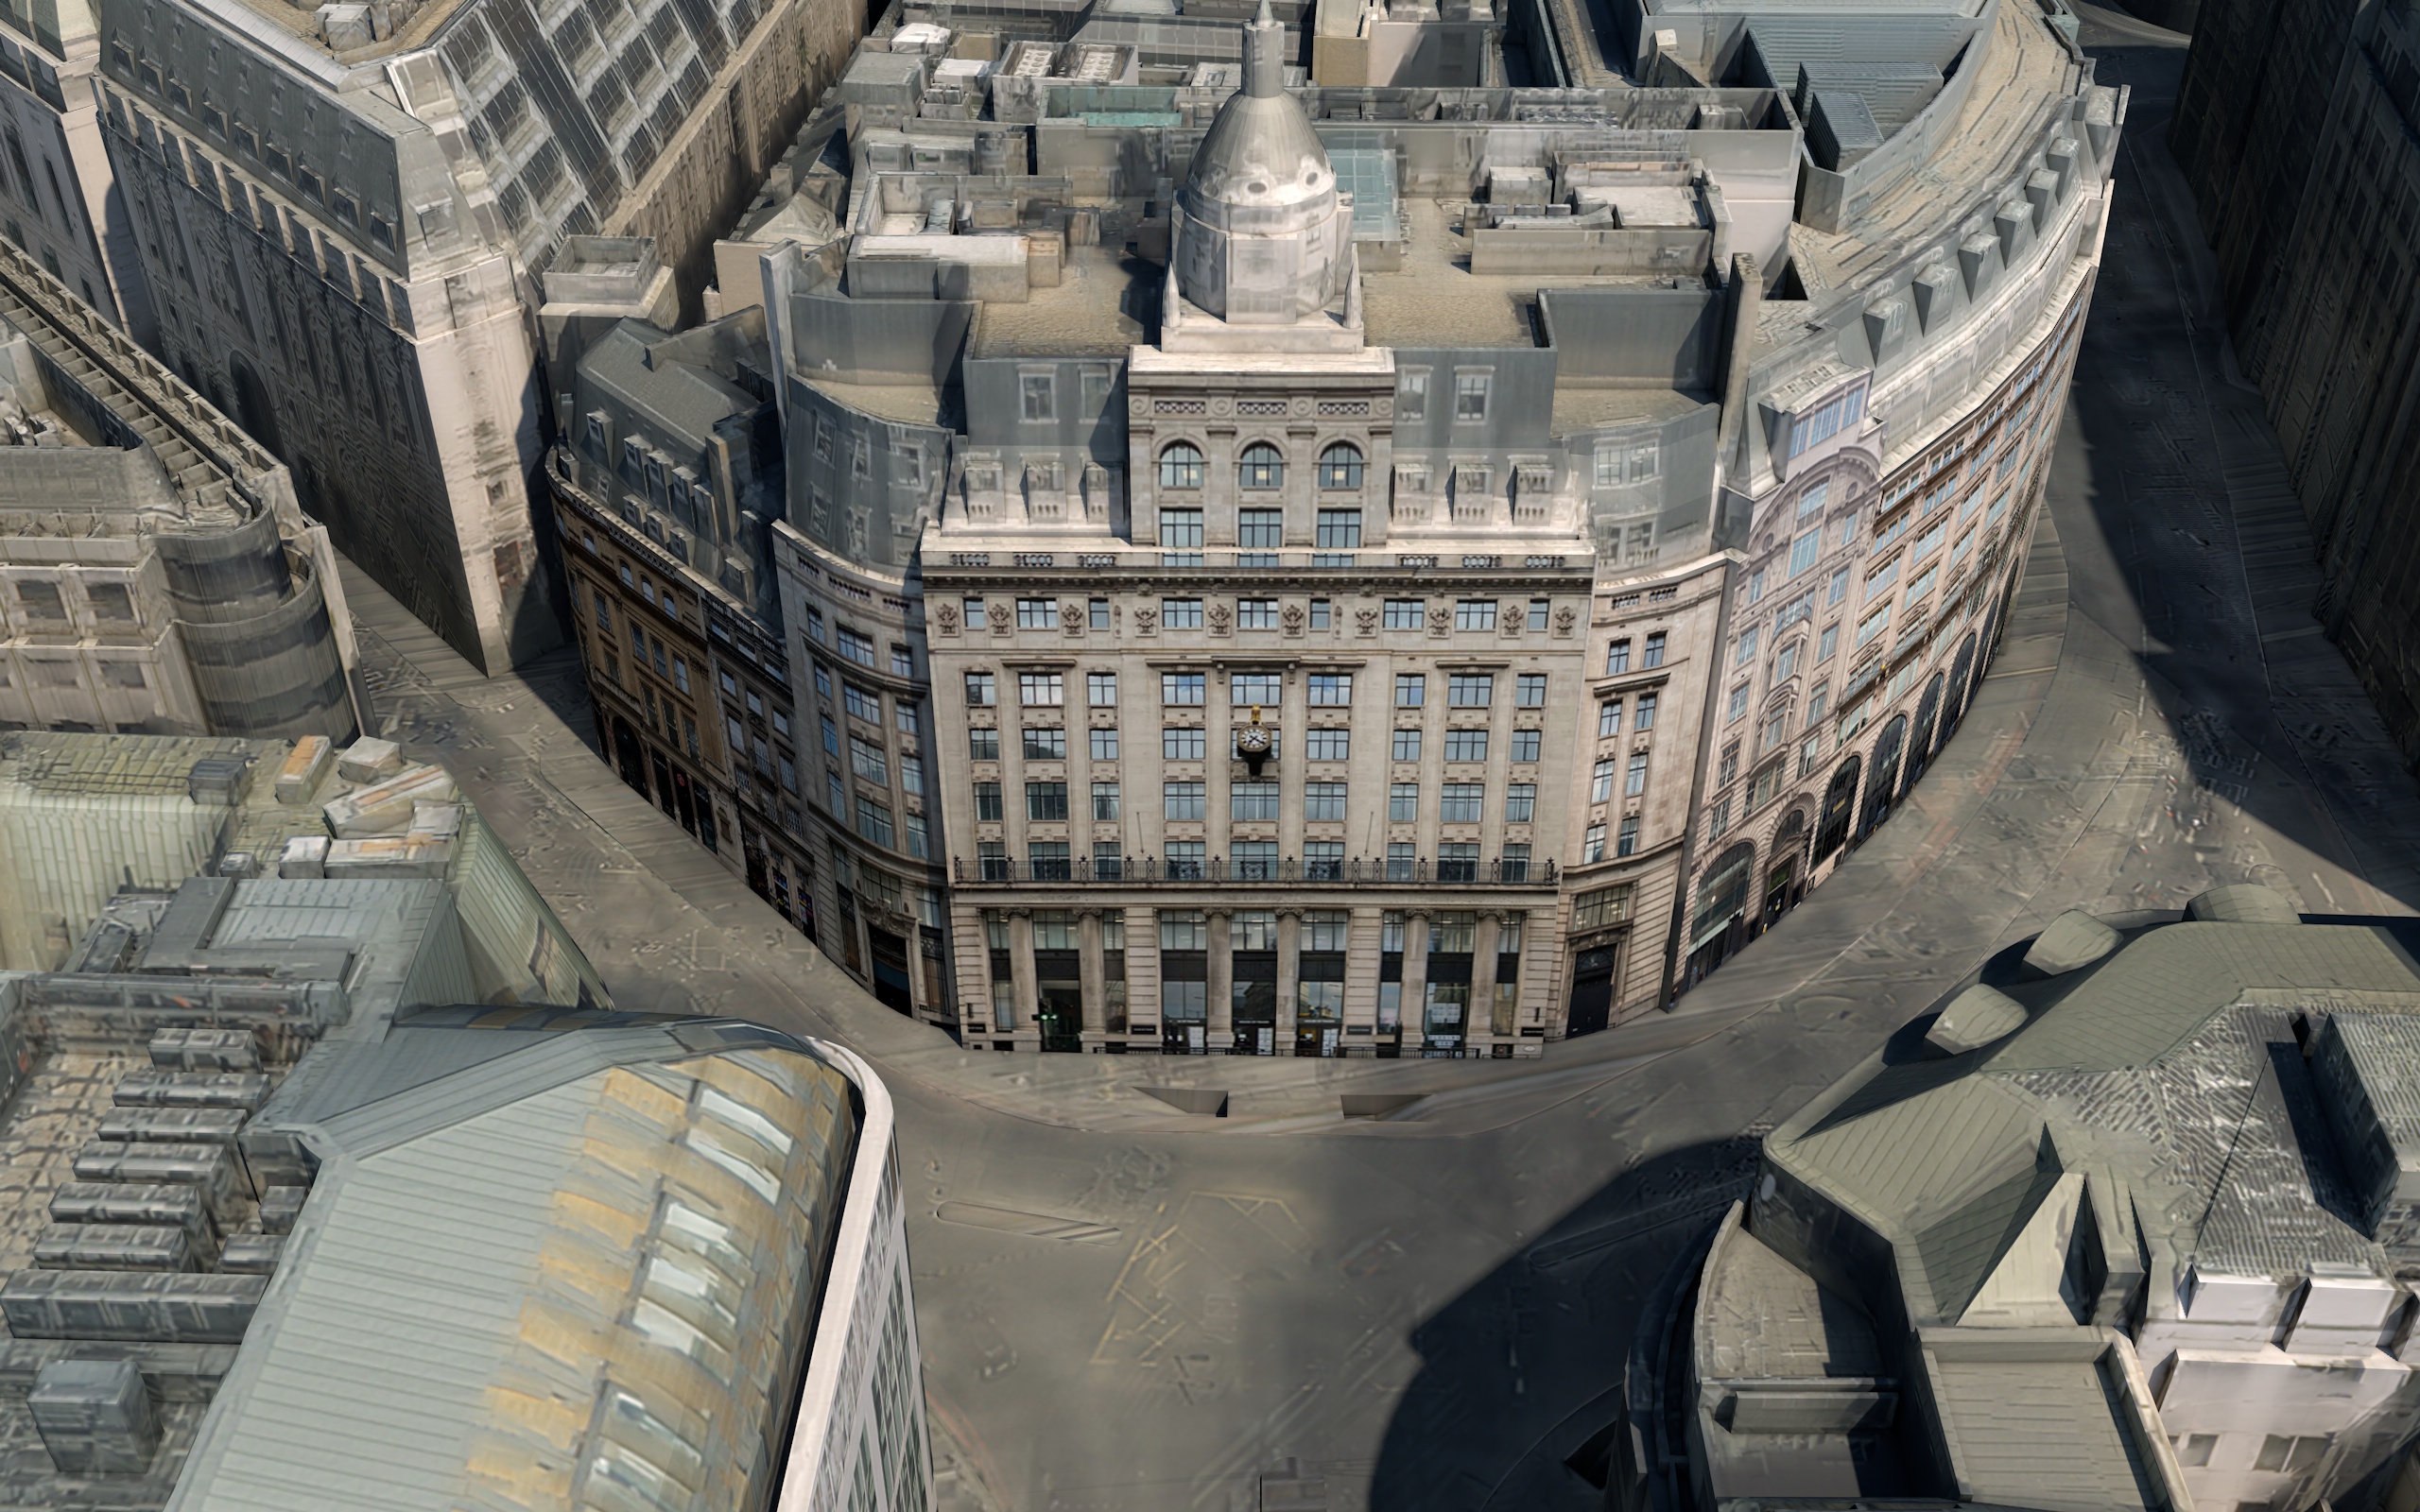
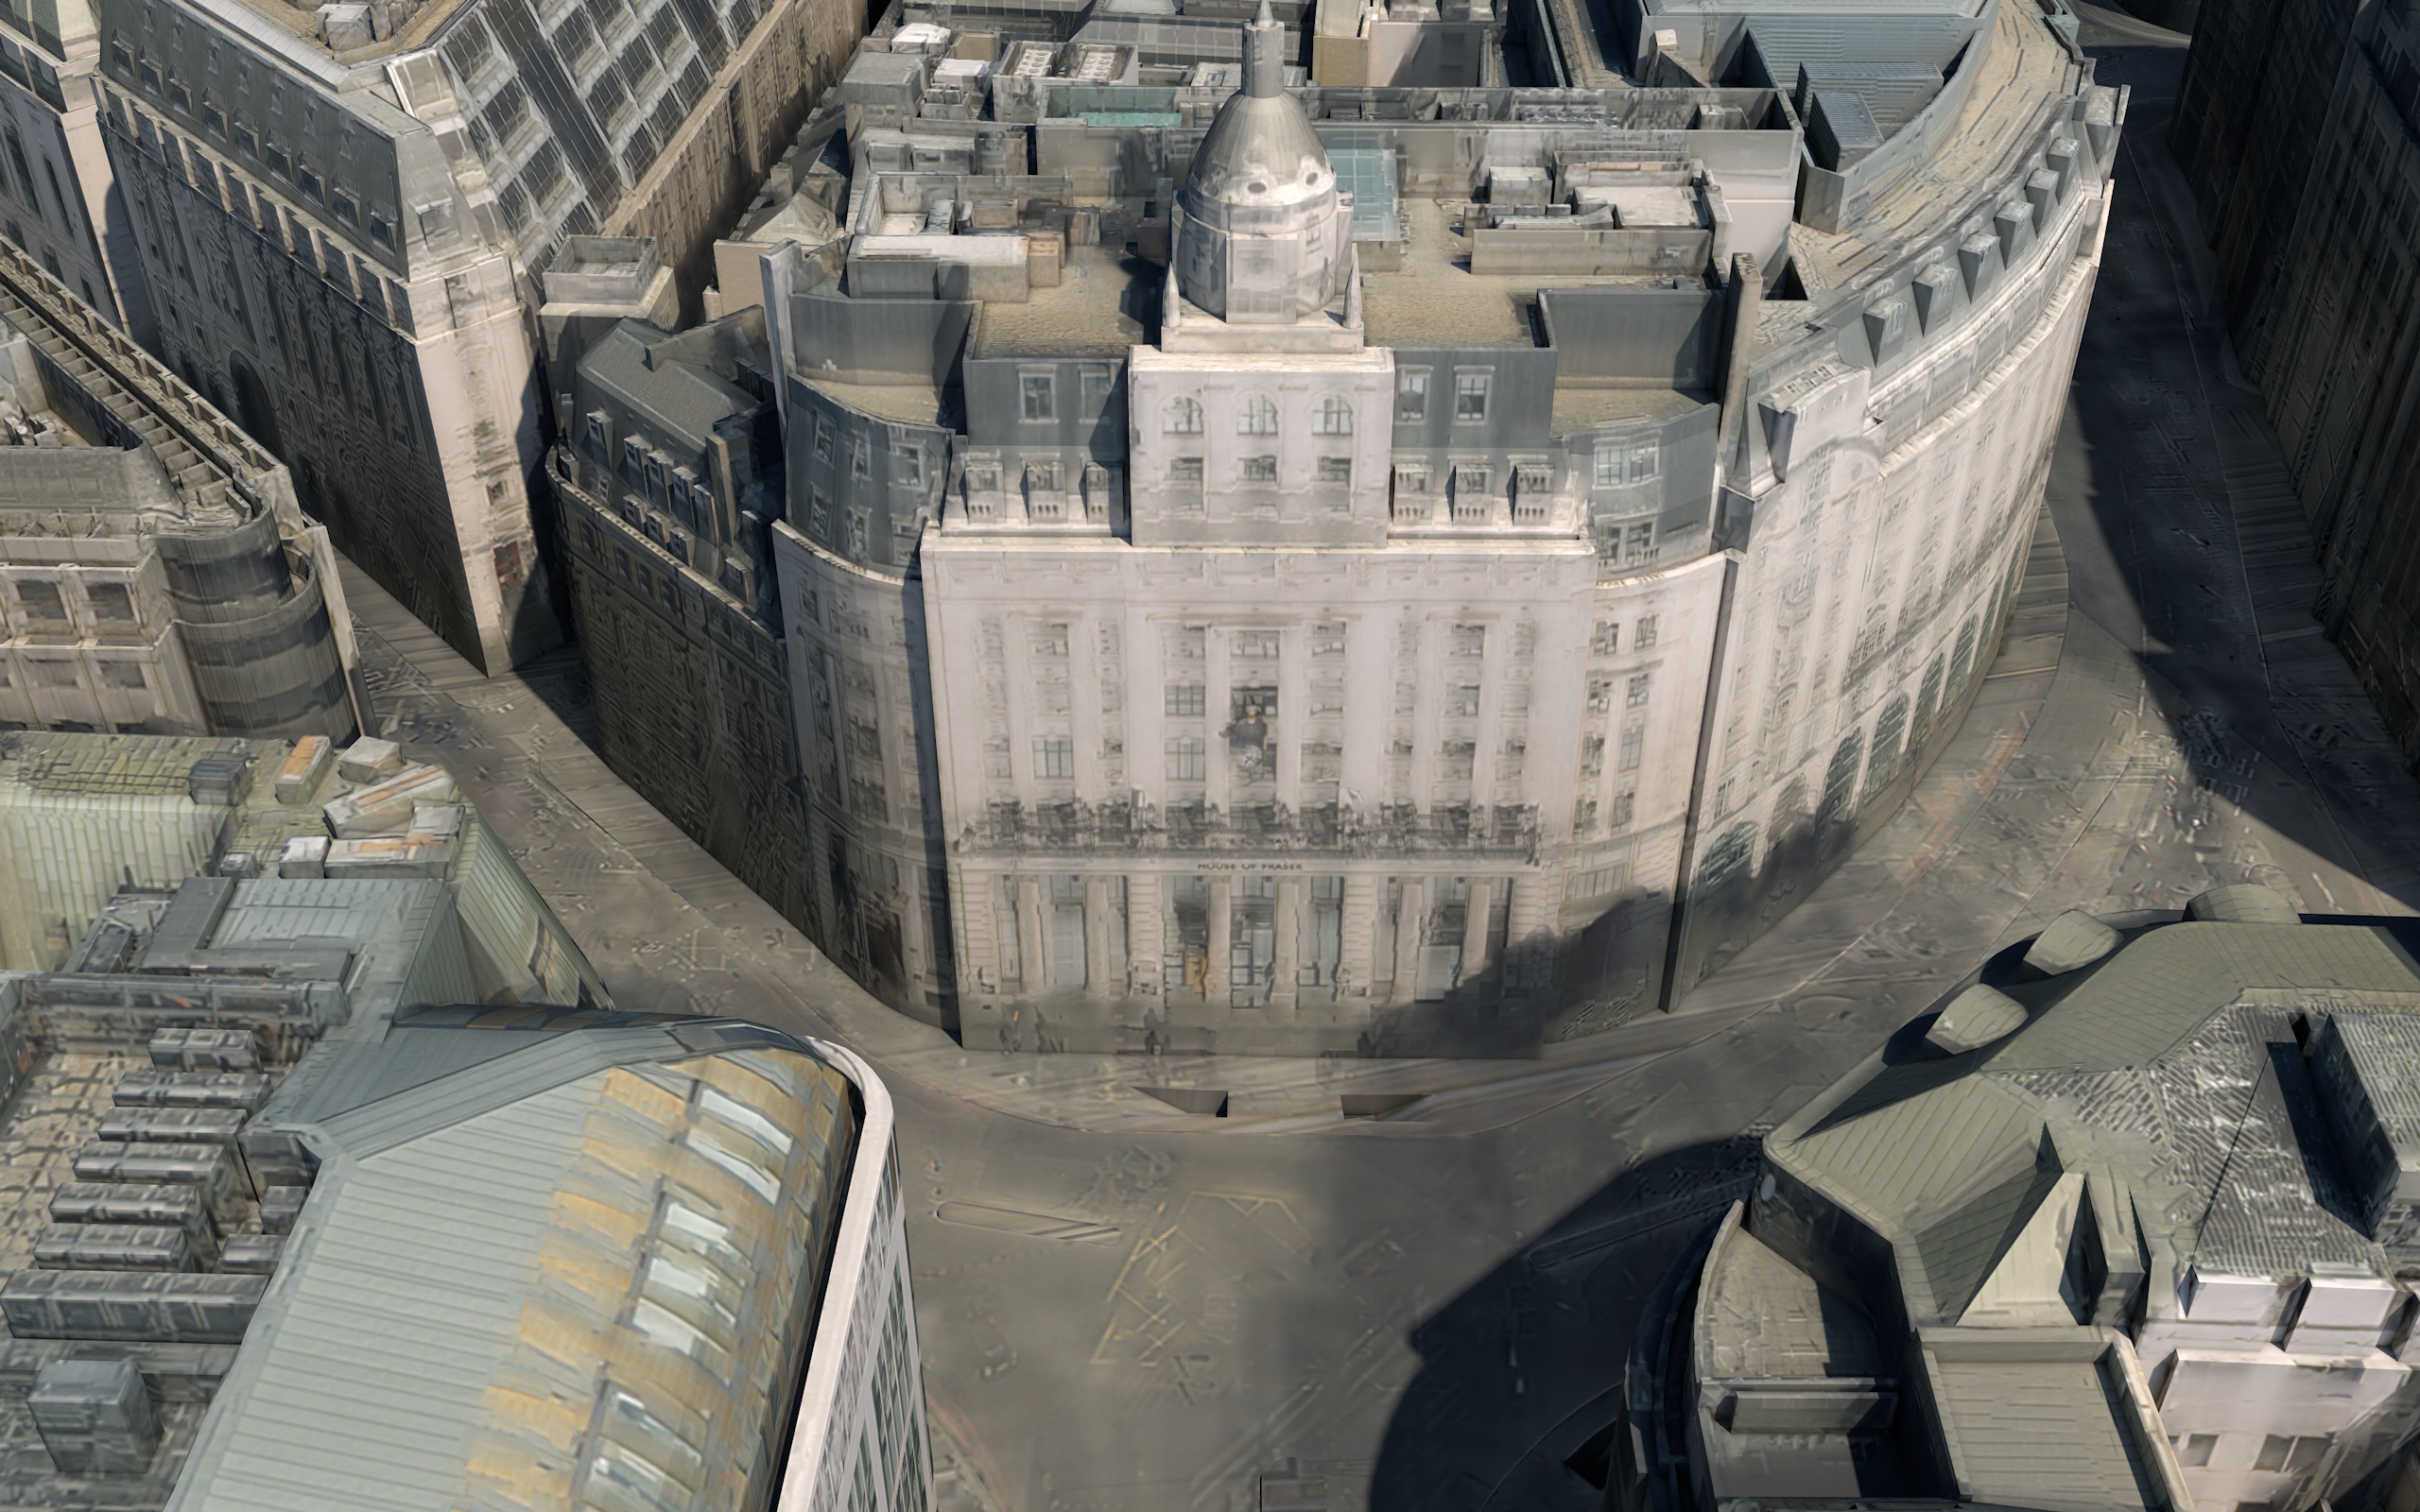
AccuCities textured 3D model of London is fully UV mapped. That means that the original textures can be simply altered and textures for street-view angles and focus buildings can be re-textured to higher quality. As an example of this process, we have amended the texture of the House of Fraser building on the north side of the London bridge. The building is part of the freshly released textured version of the free sample tile TQ3280 (download here).
We have recorded the process and put it together in this step-by-step Re-texturing Buildings Guide. Here is a short list of what is covered in this PDF guide.
Software, Photographs & Skills needed
The Guide has been put together by Milo Spisz, our most experienced 3D modeller, and he naturally makes it look easy. But the skills you really need for re-texturing are only basic/mid-level skills. Another good news is that because we are working on a relatively small area, there is no need for camera calibration. That means you can use any decent camera – most phones will do. Depending on the end-use of your project, you can use custom street-level photographs or even existing photographs. We have used custom-made photographs, taken on an SLR camera.
You will also need a 3D modelling and Image Manipulation software. We use 3D Studio Max and Photoshop as our standard tools. If you are not a commercial organisation, you can find cheaper or free alternatives. You can for example replace Photoshop with free GIMP and replace 3D Studio with similar free 3D software.
Taking, preparing and adjusting street-level photographs
The Guide covers the most important tips on how to take correct street-level photographs. In reality, almost any photograph can be used – it’s just more work if these points are not followed. Learn how to section photos, understand the possible distortion on overhangs and un-modeled features and how to combat these issues.

Working with complex UV maps
Working with untidy UV maps of large complex buildings is not that difficult; once you understand that not all UV map facades will be in one place, due to the processing of the UV map some geometries will be scattered around. Below is a face that we will be concentrating on in this guide, but as you can see the geometries are spread out and we will need to go through a few easy steps to put them together and ready for re-texturing.

Let us know your thoughts, ideas & tips!
This guide is in its 1st release and not everything might be covered. We welcome all your comments, tips & ideas on how to improve this document. Is there a better way to do any of these steps? Are you using different software and want to let your community know how to do this? Please Get in touch, we would love to hear from you.
We are also looking forward to see your upgrades to different buildings in our free sample tile. Send us your renders or animations of upgraded buildings and we will publish and publicize the best work on our website.